
How To Make A SlipJoint Pocketknife
By Chris Crawford (October, 2001)
PLEASE NOTE: Many of my knifemaking methods have changed since writing this tutorial. To see my latest methods, please check out the DVDs Basic Slipjoints and Intermediate Slipjoints.
Page 3
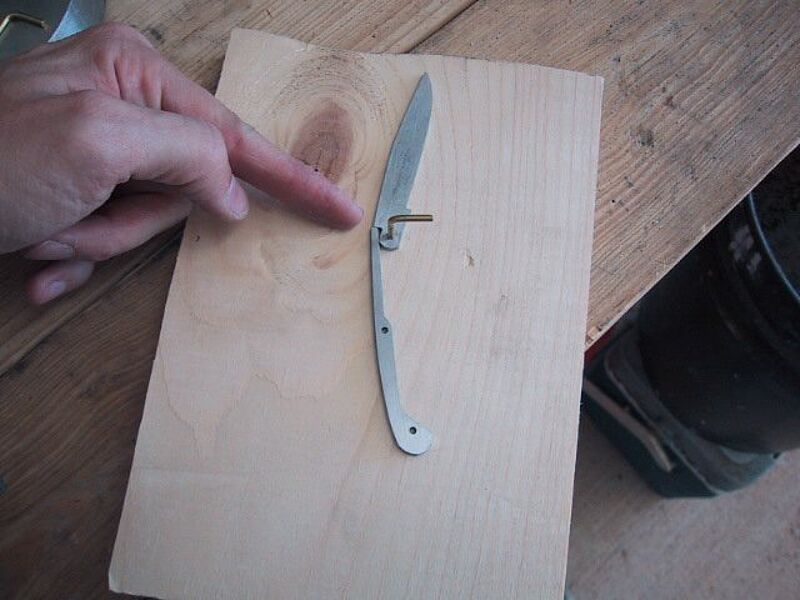
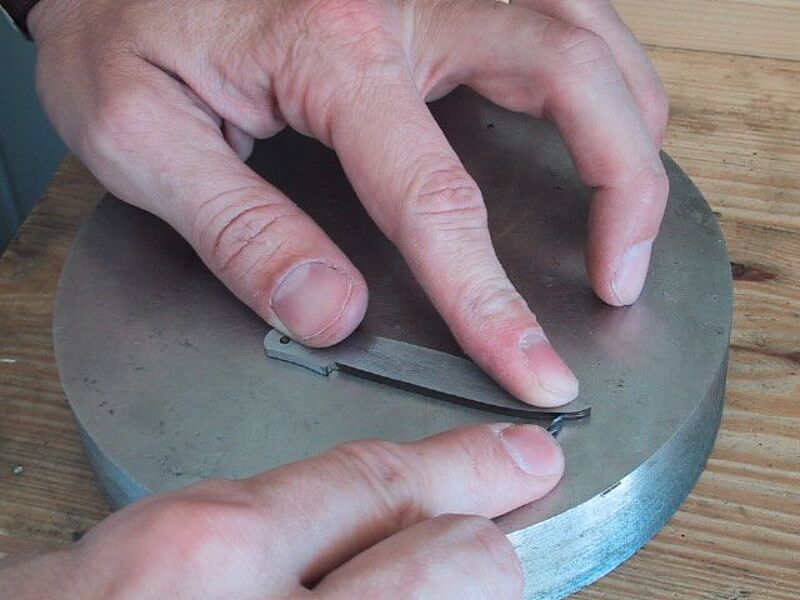
As carefully as you can, hold the spring with one hand and rotate the blade to the open position. The spring will move a little, but you should be able to keep it relatively in place. In the photo above, the blade will not open to the fully opened position. The reason is because the end of the spring is longer than the cutout at the top of the tang. In other words, the tang of the blade is too short. (Note that there should be a small gap under the end of the spring where the spring hits the blade. This helps to give the spring snap, and it allows an area for lint to collect without effecting the knives performance. This is why I ground the end of the spring at a slight angle in one of the earlier steps.) If the tang is too short, follow the steps that go with the next photo. If there is a gap between the end of the spring and the cutout, then your tang is too long. To fix this problem, move the spring up into the gap, hold the spring in place, and pivot the blade to the closed position. More than likely, your blade will now be too long. Shorten and reshape the blade until it fits up similar to the photo in the previous step.
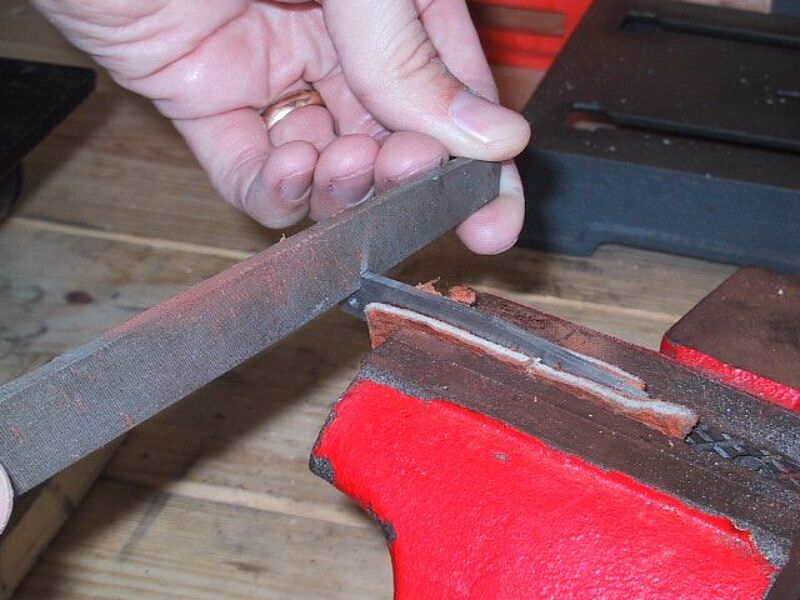

To make the tang longer, clamp the blade up in the vice. Using a safe edge file, file away. Be careful to only file forward and not to file down into the tang. The key here is to file a little, check it, file a little more, check it, ….. Keep doing this until the blade and spring fit up like in the second photo.

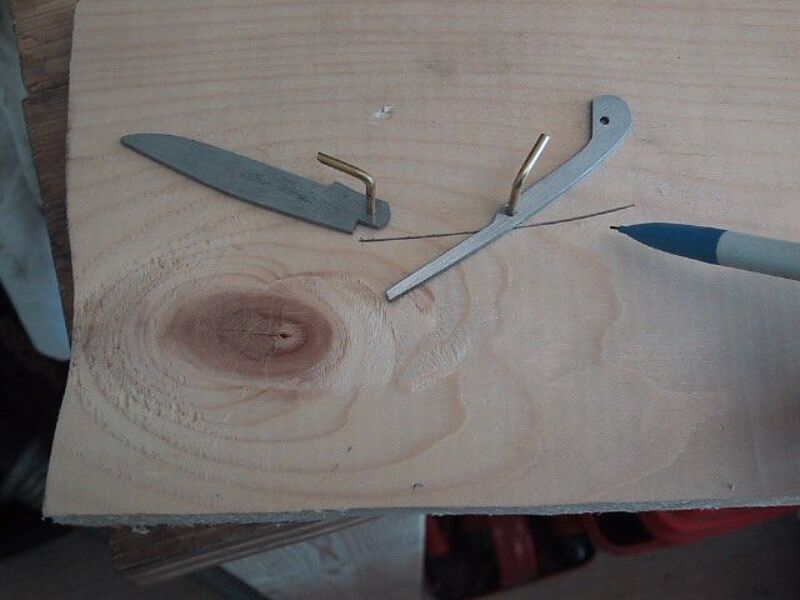
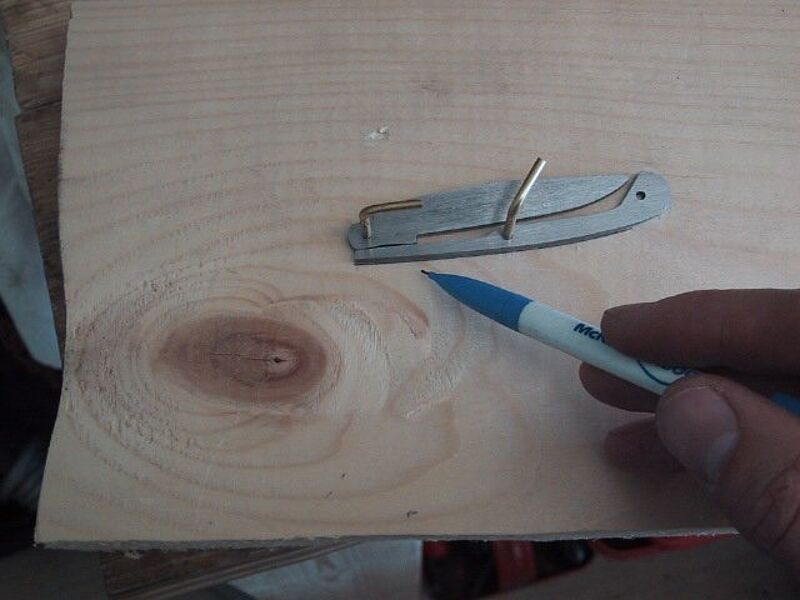
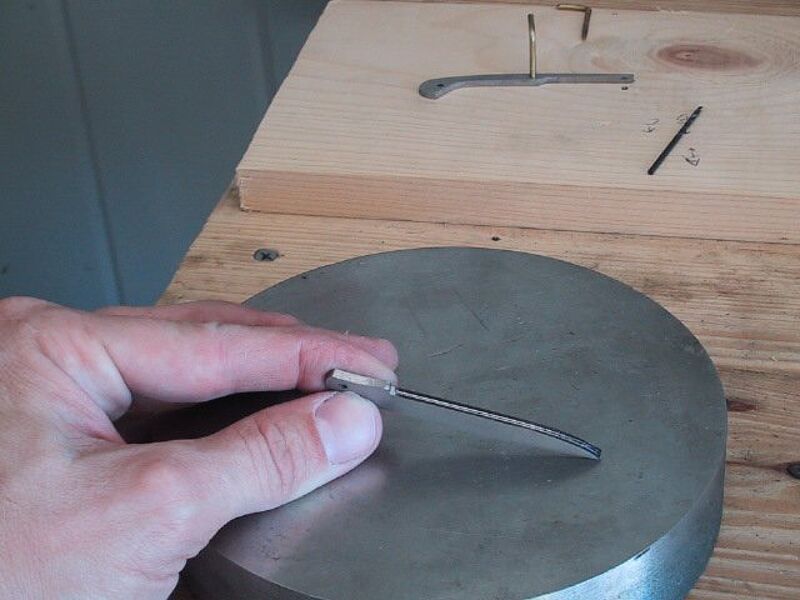
Next we must make sure that the spring of the knife will rest in the same position when the knife is both opened and close. An unfitted spring takes away from the beauty of the completed knife. First lay the blade and spring out like in the previous step. Make a mark onto the board at the place of the center pin hole. This will be the hole in the middle of the spring. Drill the hole out with a 3/32 inch bit and place a pin in it. With the blade in the open position, take a pencil and draw a line down the length of the back of the spring. This line represents the place where the spring rests when the knife is in the open position. Pivot the blade to the closed position and check the back of the spring against the line. The goal here is for the back of the spring to line up with the line. I was lucky. The spring in the photos above lined up perfectly without me having to make any adjustments. This is not usually the case for me.
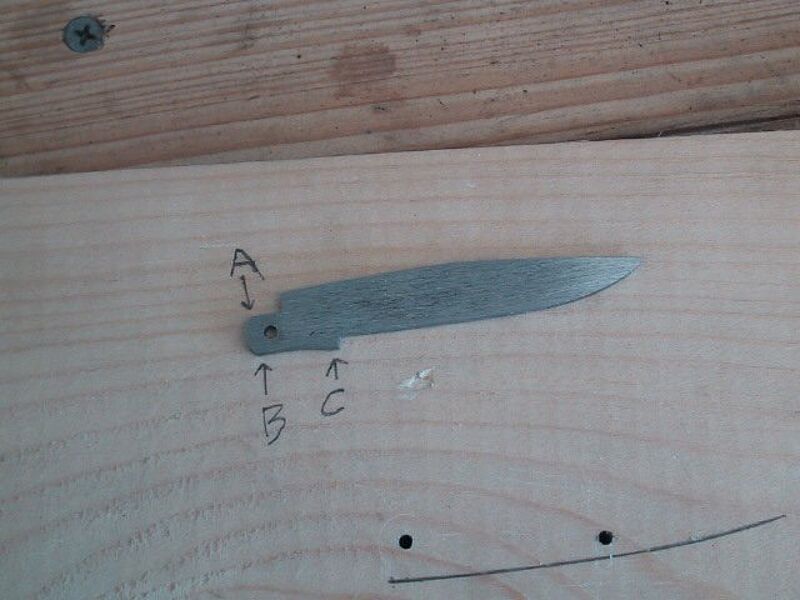
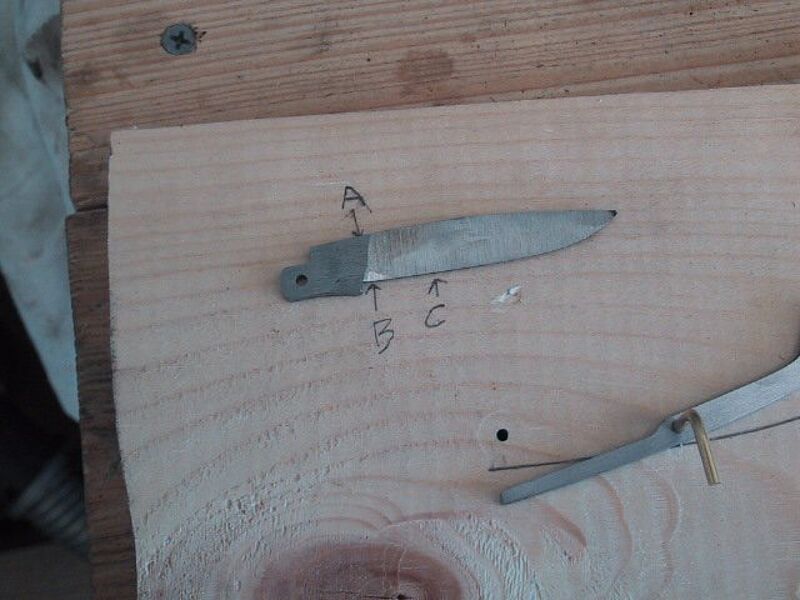
If the spring is lower than the drawn line when the blade is in the closed position, grind or file a little away from point A. This will lower the spring while the knife is in the opened position. You will need to redraw your line and check the open and closed positions again. If the spring is higher than the drawn line when the blade is in the closed position, grind or file a little away from point B. This will lower the spring while the knife is in the closed position. Points A, B, and C are all tied in together. If you grind or file point B, the tip of the blade will rise from the spring. Therefore, point C will need to be filed or ground a little to bring the blade tip back down. Once every thing fits up correctly, it’s time to grind the bevels into the blade.

Take a black magic marker and color the bottom edge of the blade. Then place the blade on a flat surface and use a drill bit to scribe a line along the length of the edge. I use a 5/64 inch bit when working with a 3/32 inch blade. The line will be slightly off center. Flip the blade and do the same to the other side. You should be left with a thin solid black line in the center of the blade.

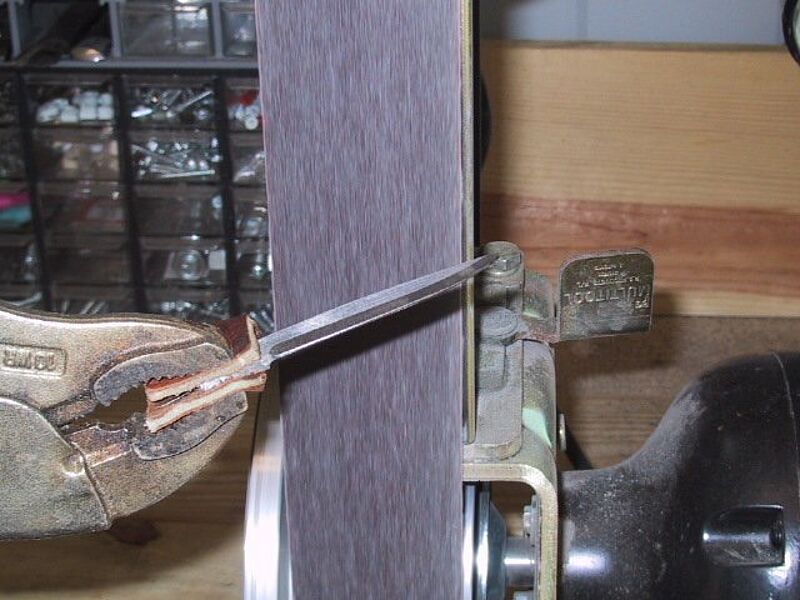
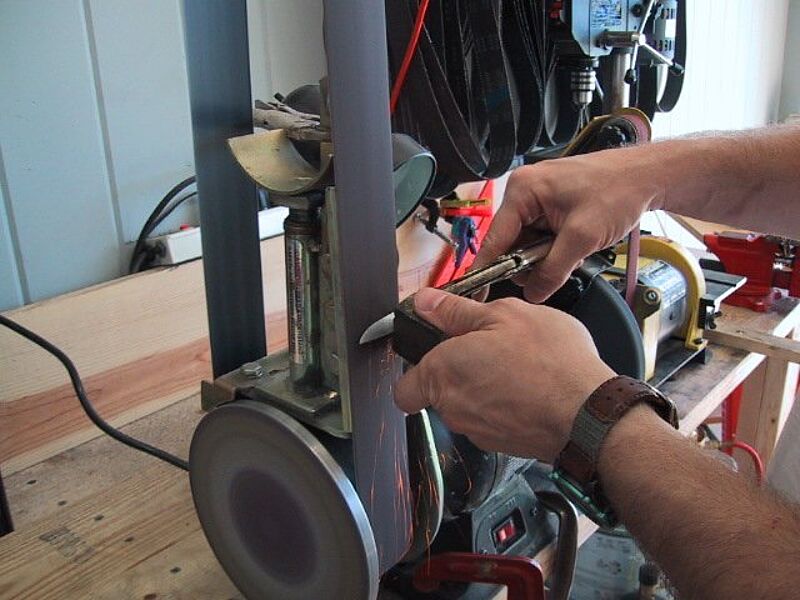
Now grind a 45 degree edge on each side of the blade down to the scribed lines. This will serve as your guide when grinding the rest of the bevels. To support the blade, I hold the tang with vice grips. I wrap a piece of leather around the tang to keep from scratching it up. Once you have your 45 degree edges ground, proceed to grind from the bottom edge to the black edge of the blade. Be careful not to grind past the back of the blade or the scribed lines at the edge.


You can see by this photo that I’m not the best at grinding a clean transition between the blade’s bevel and its tang. That’s ok though, because I know how to use a file. A clean line between point A and B is needs to be filed into the blade. First clamp a piece of wood into the vice, and then clamp the blade to the piece of wood. Use safe files to file a clean transition as seen in the third photo. Try to bring the filed lines all of the way to the top of the blade, but try not to file deeper than the top edge.
Copyright © 2026 Chris Crawford Knives
109 Bridle Cove, Saltillo, MS 38866


