
How To Make A SlipJoint Pocketknife
By Chris Crawford (October, 2001)
PLEASE NOTE: Many of my knifemaking methods have changed since writing this tutorial. To see my latest methods, please check out the DVDs Basic Slipjoints and Intermediate Slipjoints.
Page 2
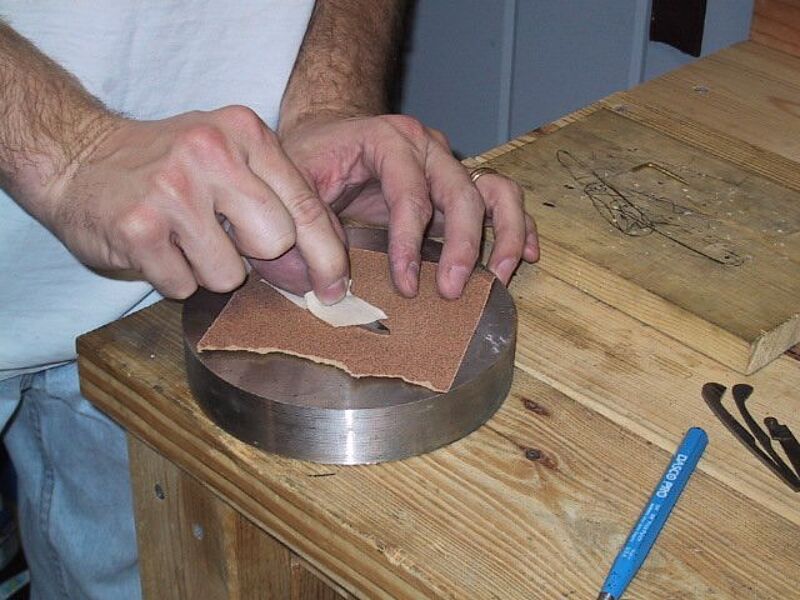
Throughout the process of making the knife, the knife pieces will need to be flat sanded to keep them smooth. Take a folded piece of tape and stick it to one side of the blade. Place a piece of sandpaper on a very flat surface, and rub the blade back and forth by holding on to the tab of tape. The goal here is to remove the burs left from grinding. I will refer to this process as “flat sanding” through out the rest of this tutorial. Flat sand both sides of the blade and the spring.
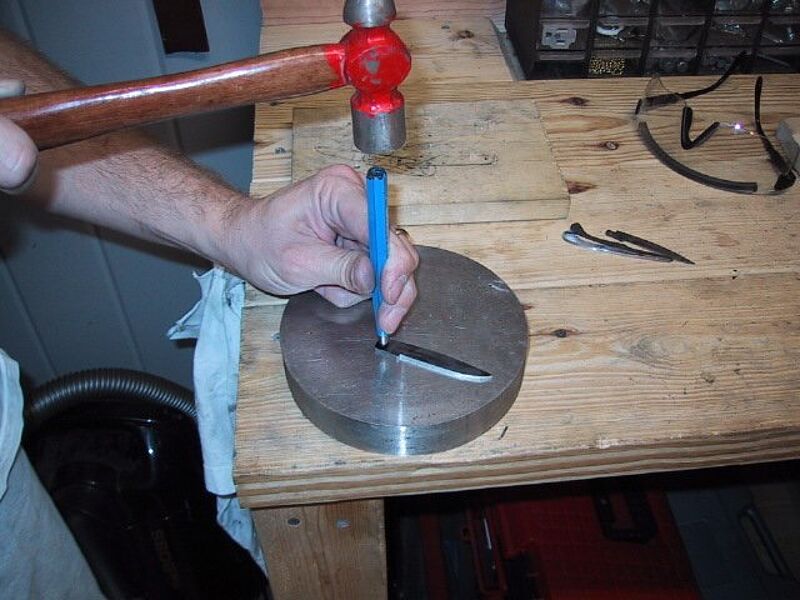
Using the old knife blade, mark the place where the pivot hole should go on the new blade. Note that the new blade will be slightly larger than the original. This is OK because we will have to make adjustments in the action of the knife by grinding areas away. You can always grind metal off, but you can never put it back. Use a center punch to pop an indention where the hole should be drilled. Go through these same steps with the spring.
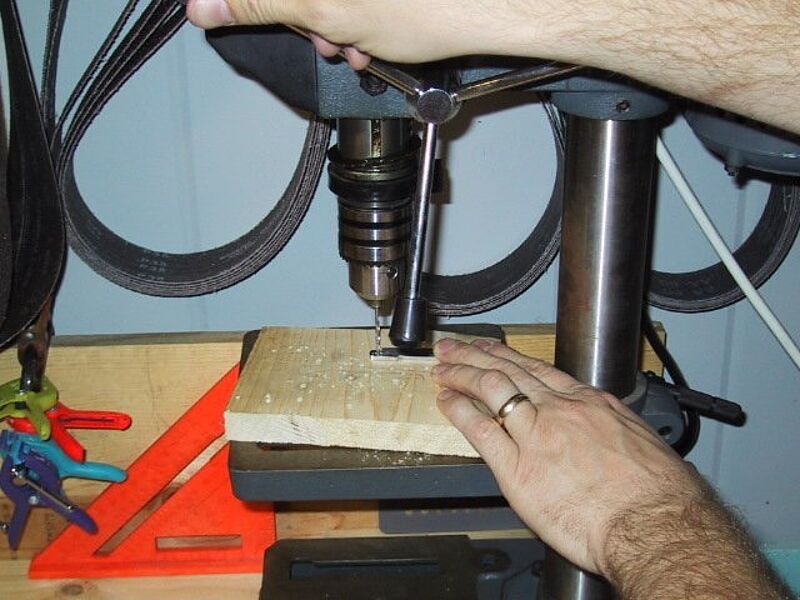
Drill the pivot hole out with a 3/32 inch drill bit. If you don’t have a drill press, a hand drill will work. Just be careful to drill as slow and as vertical as you can. It is very important that the pivot hole is square with the sides of the blade. Follow these same steps with the spring. The two holes in the spring will also be drilled with the 3/32 inch bit.
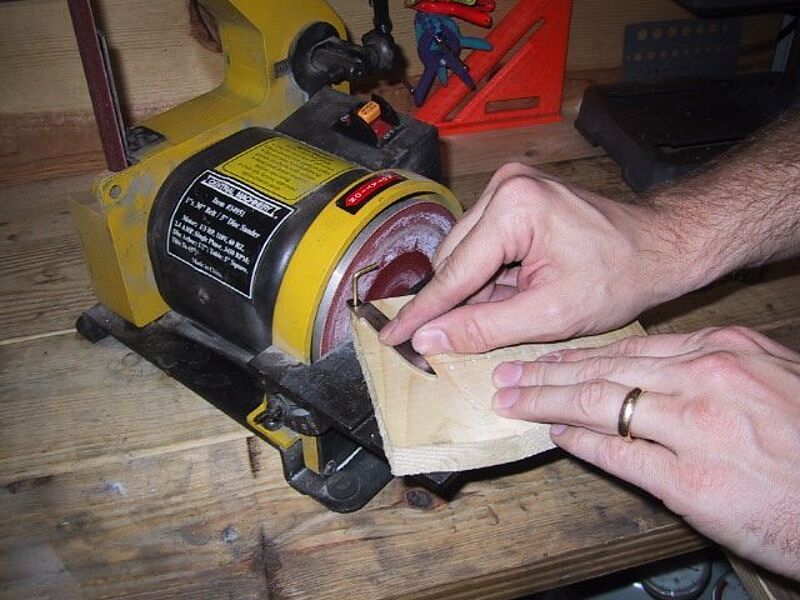
The end of the blade tang should be rounded to give the knife smooth action when opening and closing. Drill a 3/32 inch hole in the corner of a small piece of wood. Place a pin through the blade and into the piece of wood so that the blade can pivot on the pin. Using a disc grinder, grind the end of the tang smooth by placing its edge against the disc and slowly pivoting the blade on the pin. If done right, you will be left with nice rounded end on your tang. Be careful not to remove too much from the tang. In order for the knife to work correctly, there must be slightly more distance between the pivot hole and the end of the tang that there is between the pivot hole and top or bottom of the tang. This helps give the knife its snap when opening and closing.
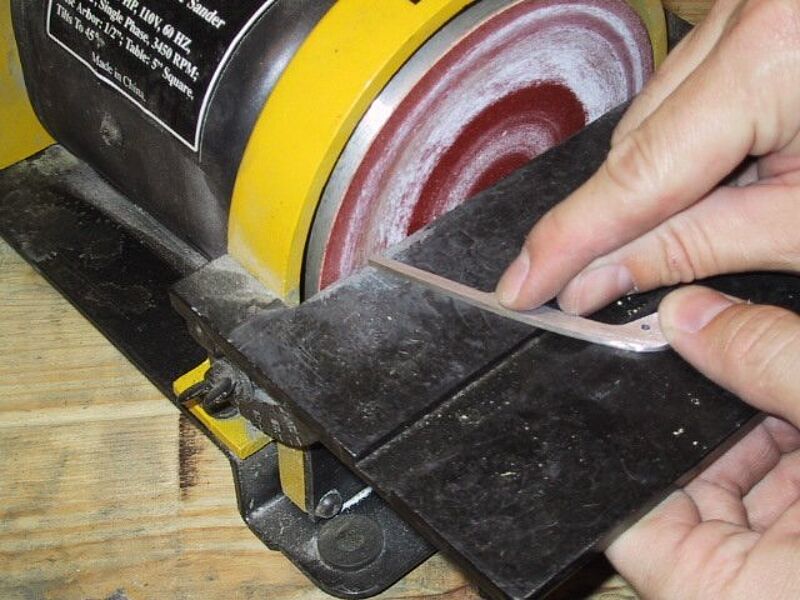
Grind a slight angle at the end of the spring. The angle should slope from the outside of the spring to the inside. (See the photo.) Only grind off enough of the spring to make a slight angle. Too much grinding will leave you with a short spring.
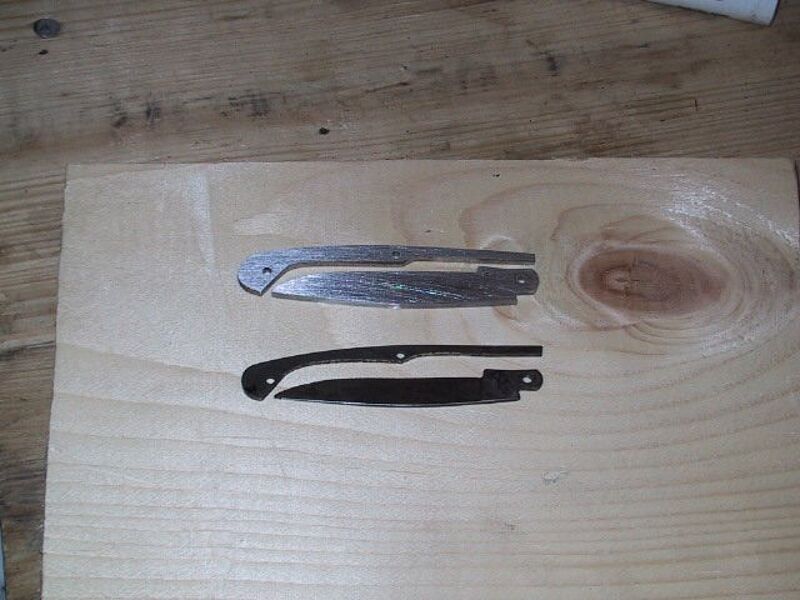
Flat sand the blade and spring to remove the burs. Now I have the new blade and spring profiled. The new parts closely match the old parts but they are slightly larger. This is ok. We can now put away the old blade and spring because we are done with them.
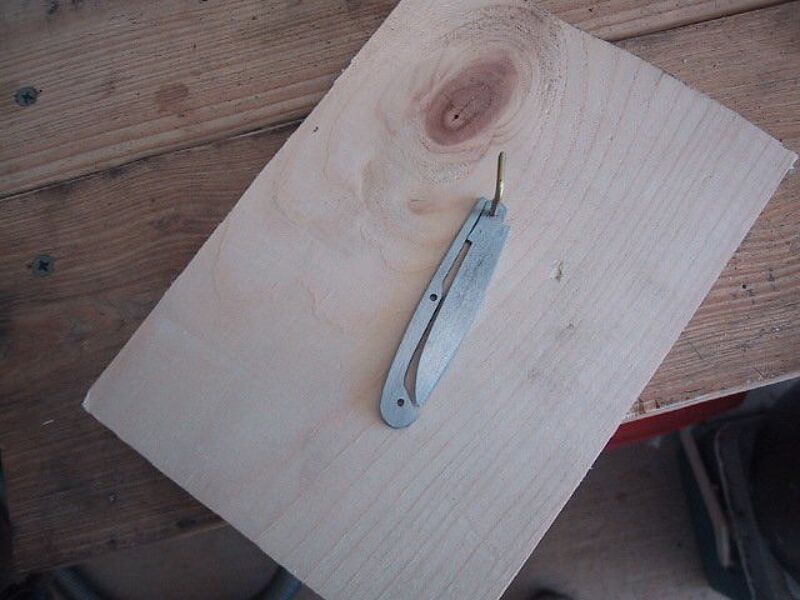
Take a flat piece of wood and drill a 3/32 inch hole in it. Pin the blade to the board and place the spring up against the tang. The spring should extend just slightly past the tang at its last point of contact. This is just left of the pin in the photo above. No part of the blade other than the tang should be touching the spring. The tip of the blade should come close to the spring, but not touch it. If the tip of the blade touches the spring, then the blade is too long and the end needs to be shortened and reshaped. If there is a large gap between the tip of the blade and the spring, the spring is too long and needs to be shortened. At this point, don’t worry if the tip of the knife rises above the spring or if the edge of the blade touches the center of the spring. That will be addressed within the a few steps. Once your blade fit up similar to the one in photo, you are ready to move on.
Copyright © 2026 Chris Crawford Knives
109 Bridle Cove, Saltillo, MS 38866


