
How To Make A SlipJoint Pocketknife
By Chris Crawford (October, 2001)
PLEASE NOTE: Many of my knifemaking methods have changed since writing this tutorial. To see my latest methods, please check out the DVDs Basic Slipjoints and Intermediate Slipjoints.
This tutorial will show you how I make a slipjoint pocketknife step by step. I don’t have any special equipment such as milling machines or surface grinders, so the knife in this tutorial should be able to be made in any standard knife shop. If you don’t have some of the tools that I’m using, be creative. Almost every step could be done in a way other than the way I do it. The methods that I use here have come form a combination of other makers, books, discussion forums, and trial and error.
A Note About Safety: The primary purpose of this tutorial is to demonstrate how I go about making a slipjoint pocketknife. It is NOT a lesson on shop safety. It is assumed that the reader already knows basic knife shop safety. If not, please do not attempt this project.
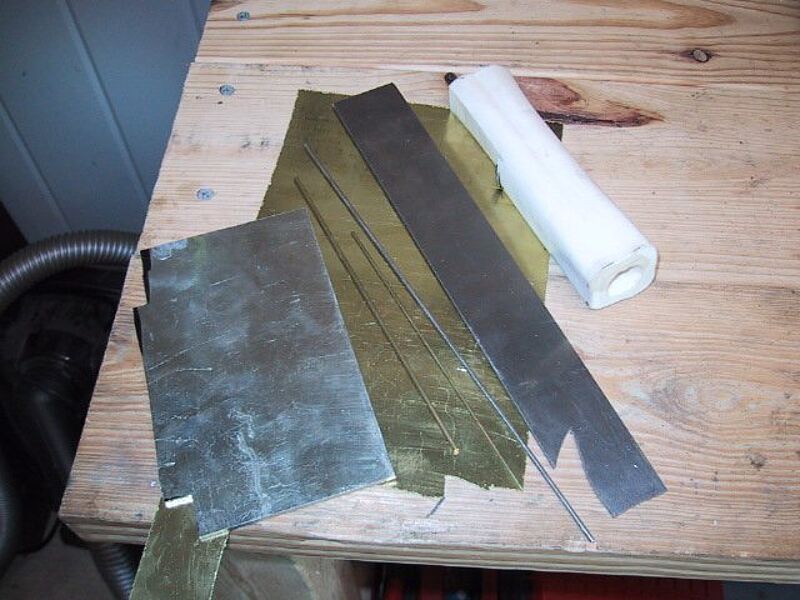
OK, Lets get started. I will be using the following material: a 1/32 inch brass sheet, a 1/8 inch nickel silver sheet, a 3/32 inch brass rod, a 1/16 inch brass rod, a 3/32 inch nickel silver rod, a cow shinbone, and a 3/32 inch precision ground bar of 01 tool steel. If you don’t have access to a surface grinder, it becomes very important to start off with flat steel for making the blade and spring. Also, great care should be taken to keep the spring and blade perfectly flat during the making of the knife. To do this, I will do very little grinding on the sides of the steel. All scale and scratches will be cleaned up with sandpaper. It’s slower working with sandpaper and files than grinding, but the slower work allows me to achieve better accuracy and a better fit when the knife is completed. If you are wondering where you are going to get a shin bone, just go down to your local pet store and pick one up in the dog treat section. Make sure that the bone is labeled as a bleached shinbone.
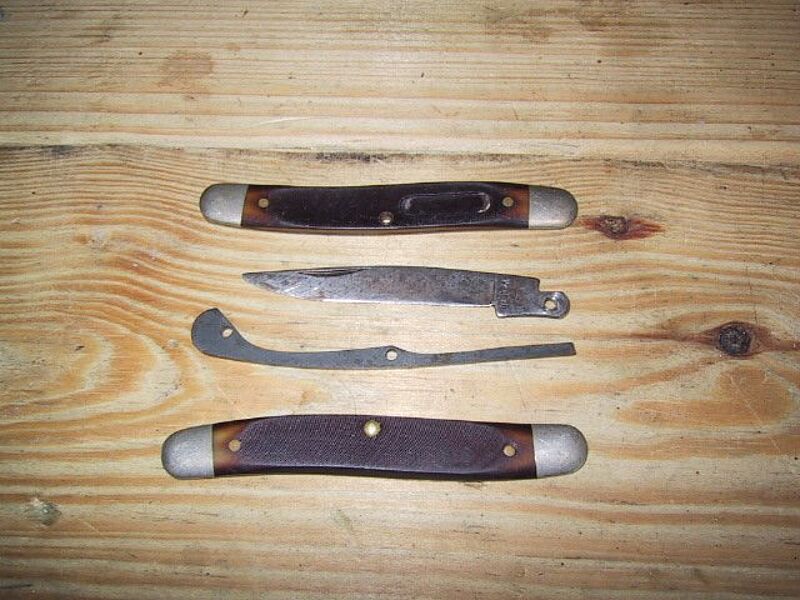
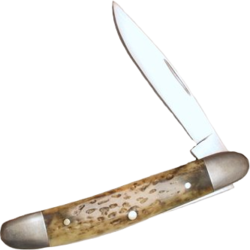
It’s a pretty difficult task to explain the geometry involved in making a slip joint pocketknife. The relationship between the spring and the tang of the knife is very important. So rather than getting into all of that, I will use an old knife that I’ve taken apart as a pattern for the project.
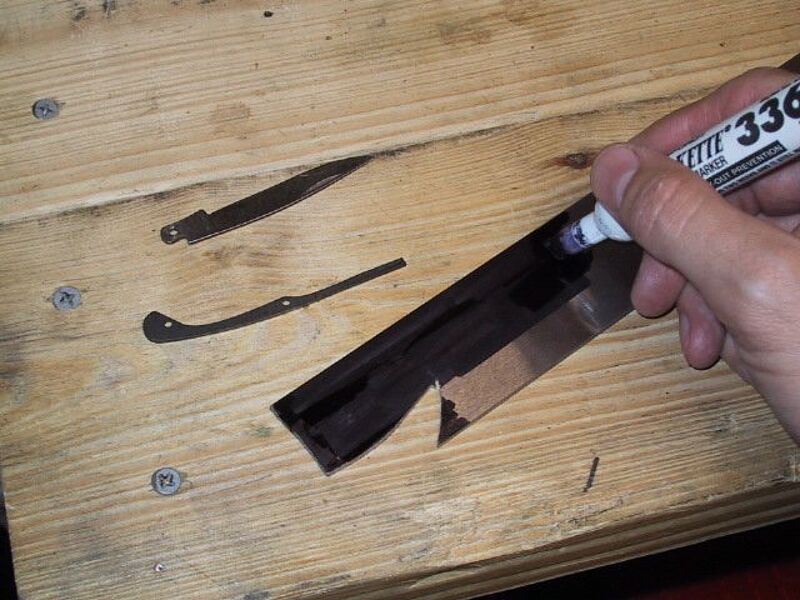

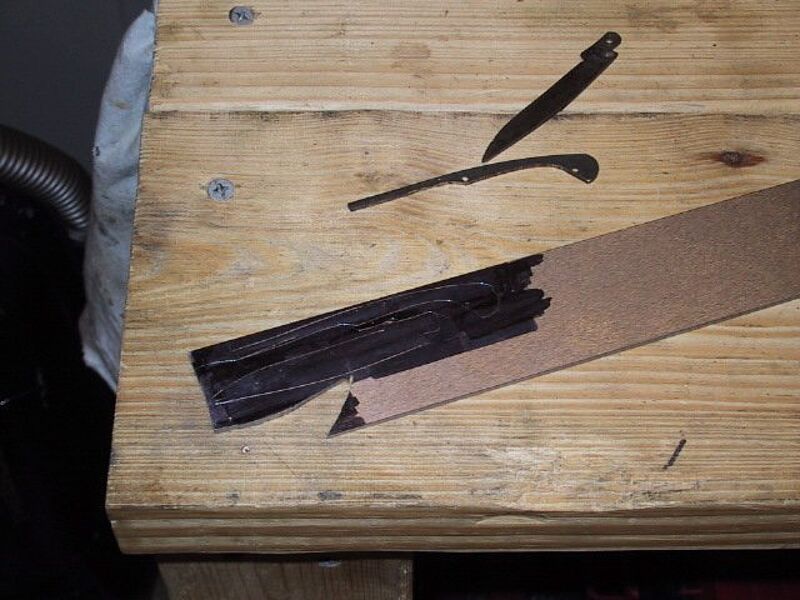
Take a black magic marker and color in enough of the 01 to allow the outline of the blade and spring to be scribed onto the steel. Using the old blade and spring as a pattern, scribe around each.
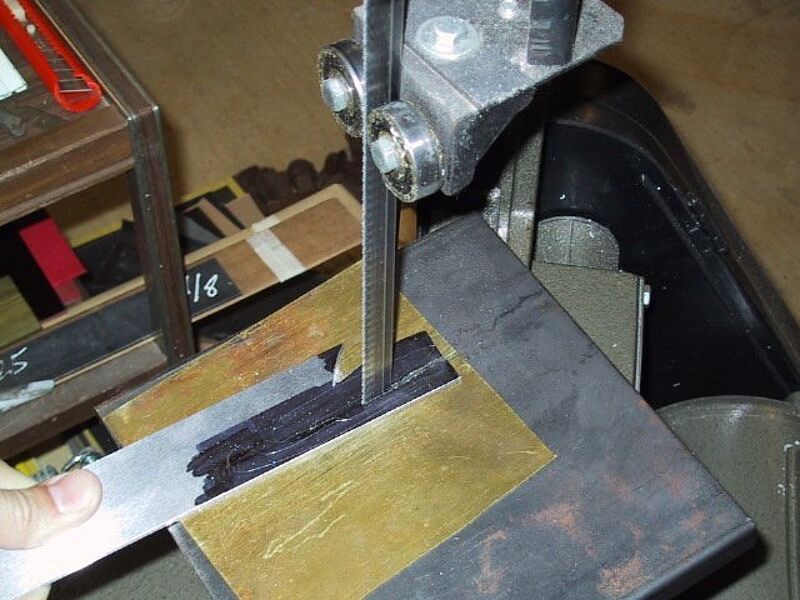
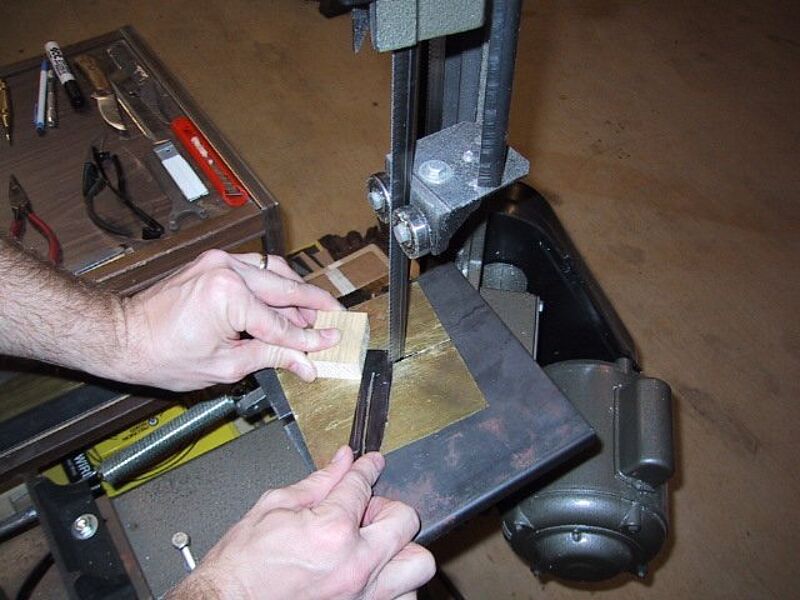
Use a metal cutting band saw to roughly cut the blade and spring out of the 01. If you do not have a band saw, a hacksaw will do the trick also. (It just takes longer.) Be sure to use a push block if you are cutting through pieces. It will be nice to finish the project with all ten fingers.
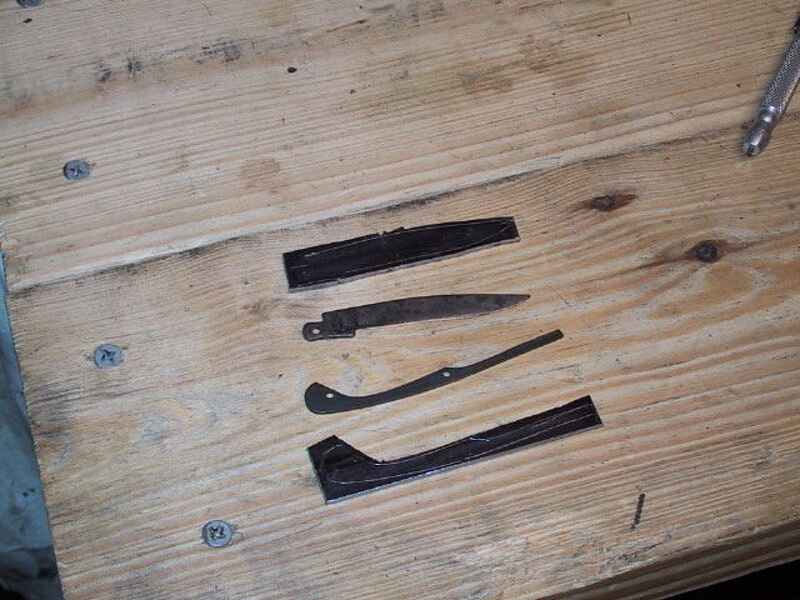
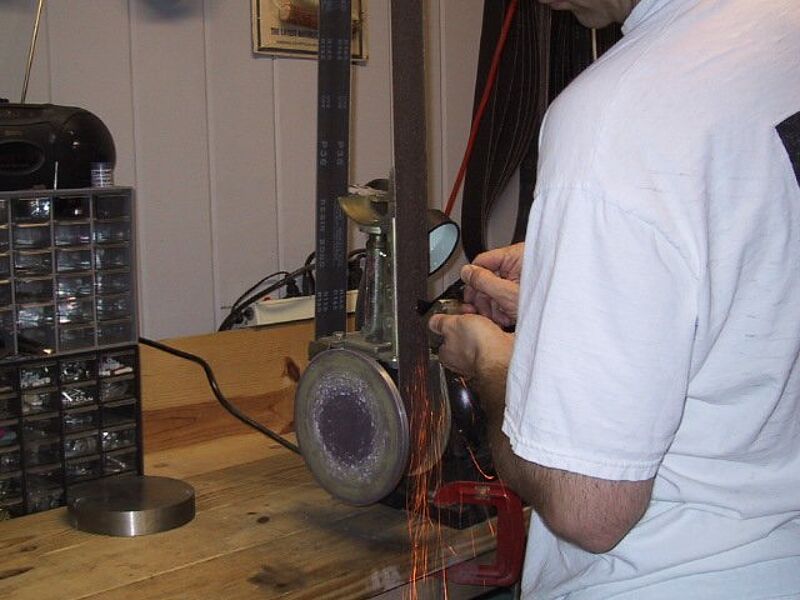
Now that I have the blade and spring roughly cut out, it’s time to grind them down to their correct shape. I start off using a 36 grit belt on my 2x72. I grind the pieces down to just outside of the scribed lines. Be sure to keep the dunking water nearby because the small pieces heat up pretty quick. You will notice in the second picture that I’m using a push block to support the piece while grinding it. I use a push block a lot, so I will not comment on it each time.
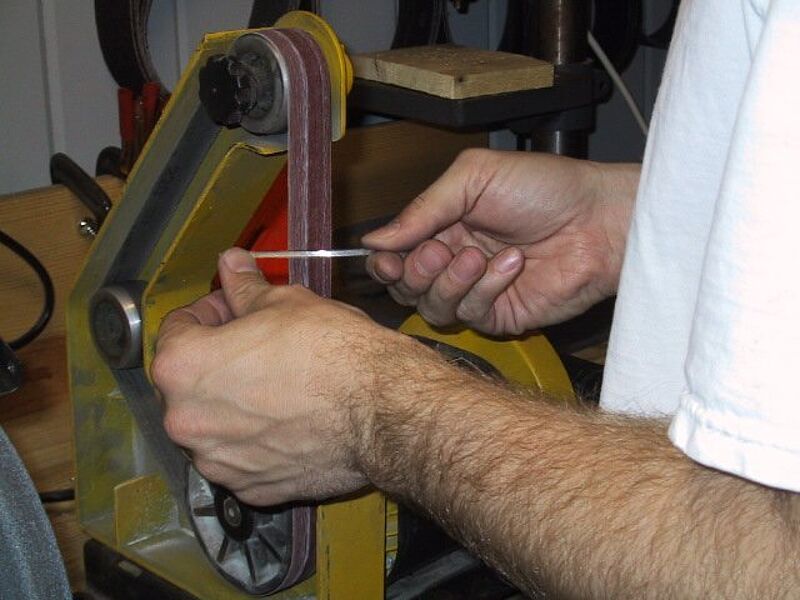
After I finish grinding with the 36 grit belt, I move to up to an 80 grit and bring the grind down to the scribed lines. You will notice that there are going to be a few places that will be hard to reach with the 2x72 grinder. I move down to the 1x30 grinder when I get to these places. I use files to clean up places that I can not get with the 1x30.
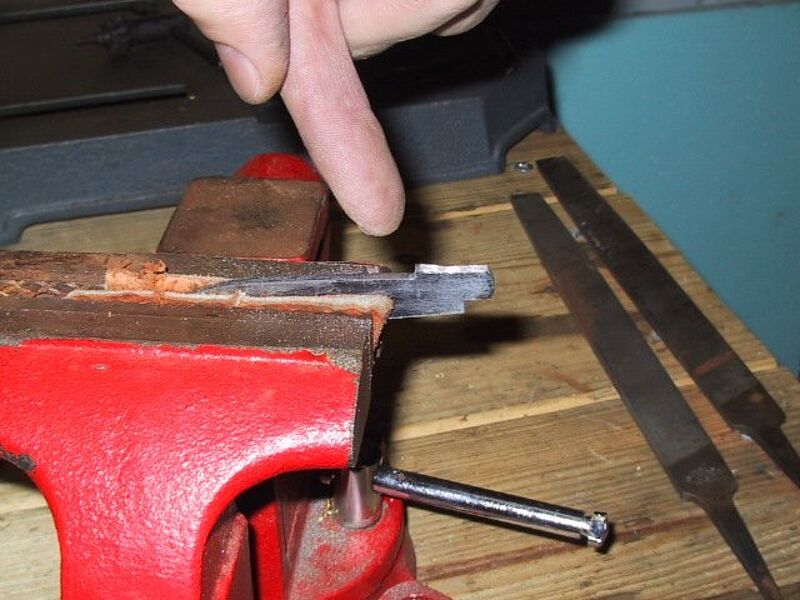
Clamp up the blade into the vice. Put a piece of leather between the vice jaws and blade to keep the blade protected. Using safe edge files, file away the areas on the top and bottom of the tang to the scribed lines. (See the area that I’m pointing to in the photo.) Use the same method to clean up the spring if there are areas that you could not get to with the grinder.
Copyright © 2026 Chris Crawford Knives
109 Bridle Cove, Saltillo, MS 38866


