
Building an Electro-Etching Unit
By Chris Crawford (August, 2003)
Building the Box
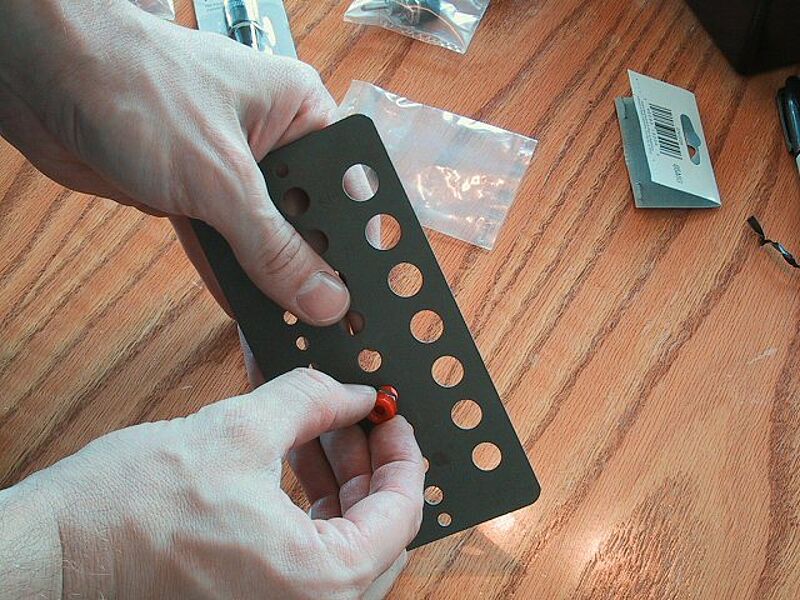
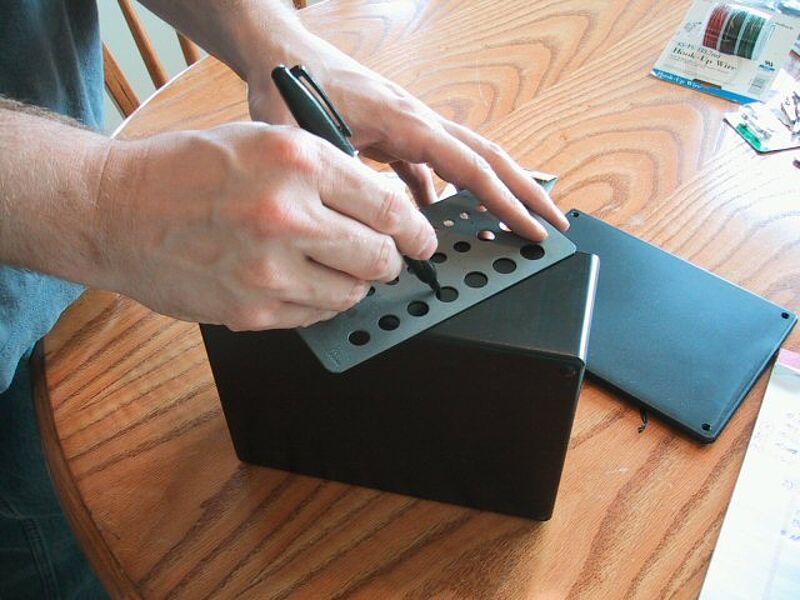
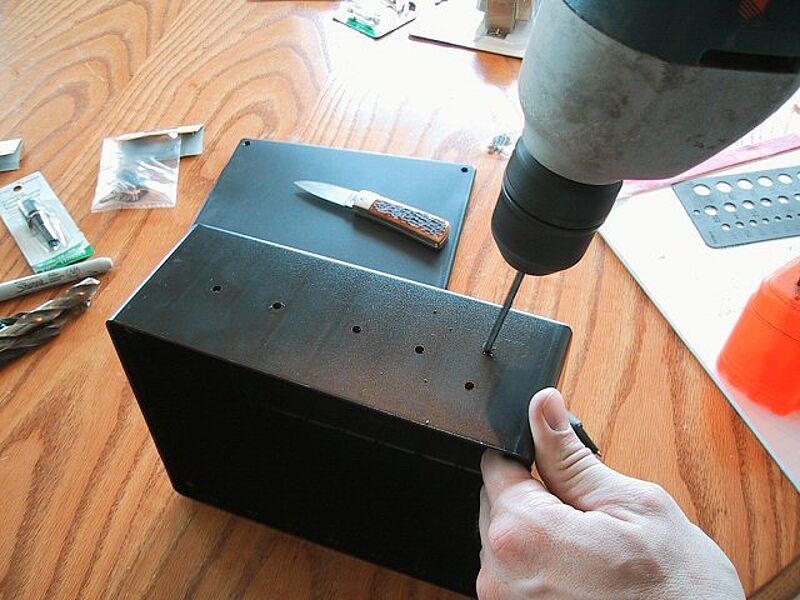
Lets get started by measuring all of the parts that will have to be installed into the front side of the box. This is pretty much everything that you got from RadioShack except the transformer and the bridge rectifier. Use the drill guide to determine which size bit is needed to drill the case out for the parts. The drill guide also makes a nice template for laying out the part locations on the box. In case you do not have a drill guide, here are the bit sizes that I used for each part. For the banana jacks and the lamp I used a 5/16” bit. I used a 1/2” bit on the two switches and the fuse holder. And don’t forget to drill a 1/4” hole in the back for the power cord. It’s not necessary, but I also used the 1/4" bit to drill pilot holes for the parts before moving up to the larger bit sizes.

Once the case is drilled out, you can start test fitting the parts. The fuse holder will be a little tight, but you should be able to screw it in. I did not realize that this case had ridges on the inside when I started drilling it. If you get a hole drilled over one of these ridges, you will need to file the ridge down so the part can sit flat.

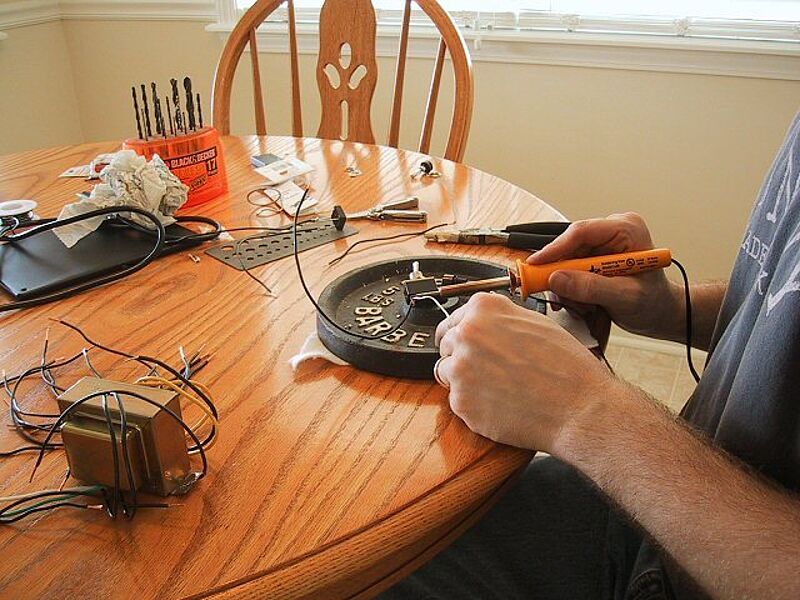
Cut and strip the ends from 17 pieces of wire and from the end of the power cord. The length of the wires should be round 8 inches or so to give you plenty of room to work. Solder these wires to all of the electronic parts. Some parts, such as the lamp and the transformer, will have their own wires and not need the wires added. However, we do need to add one more wire to the transformer to be used as a ground. The transformer will have a little tab on each side. If you can, solder a wire to one of the tabs. I was not able to get the solder to stick well, so I ended up taking the pliers and twisting the wire tight around the tab.

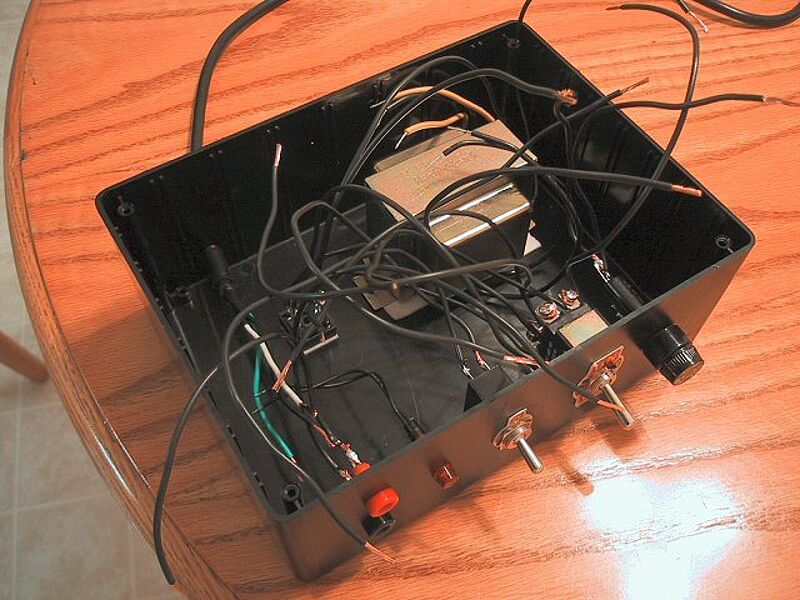
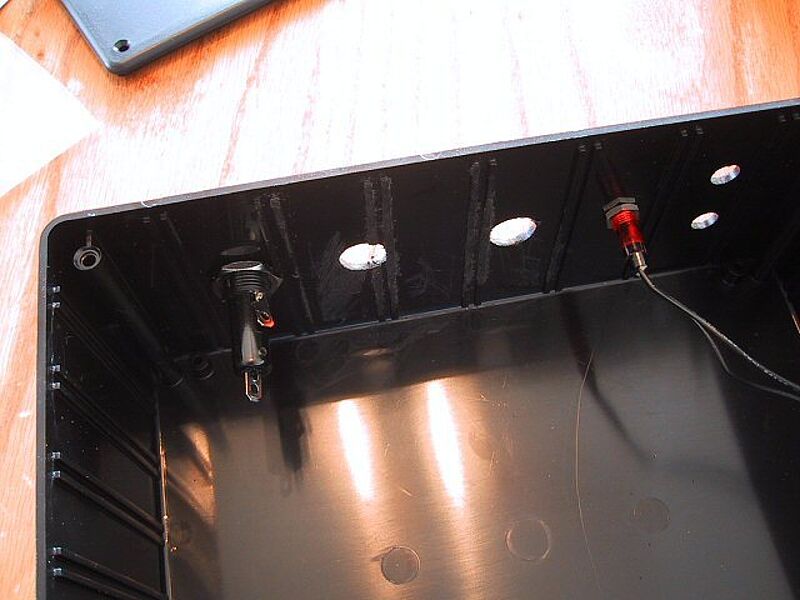
Once all of the parts have their wires attached, the parts can be installed into the case. Use the double sided foam tape to attach the transformer and the bridge rectifier to the bottom of the case. If you are not throwing your box around or anything, the tape should hold these parts down fine. With all of the parts in place, the inside of the case will look a lot like Medusa. Don’t forget to insert the power cord into the back of the box. A trick to holding the power cord in place is to wrap it with some electrician’s tape on each side of the hole. You should be able to see this in the picture.
Copyright © 2026 Chris Crawford Knives
109 Bridle Cove, Saltillo, MS 38866


