
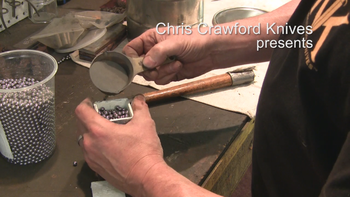
No Peen Head Spinners
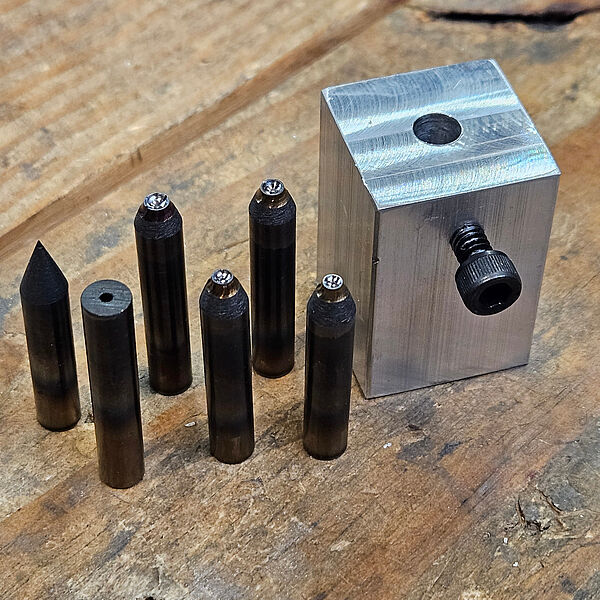
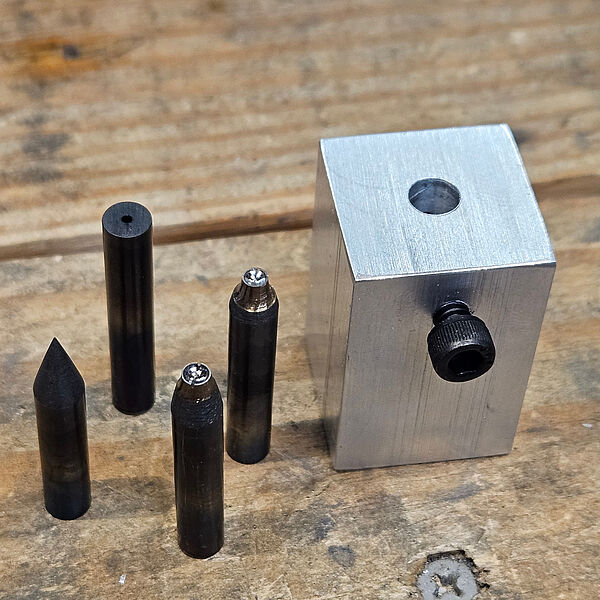
After taking a couple of years off from building spinners, I'm back at it. If you're not familiar with what head spinners are or how to use them, then check out the video on the "No Peen Head Spinners" page. The spinner kits can be purchased in a couple of different configurations. Follow the link below for more info.
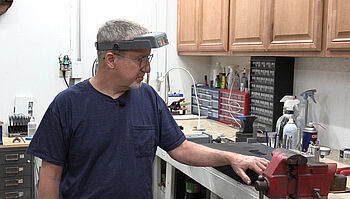
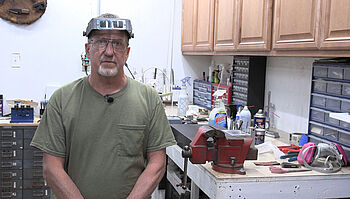
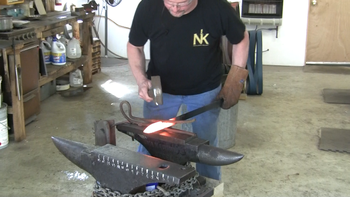
Chris Crawford - Maker

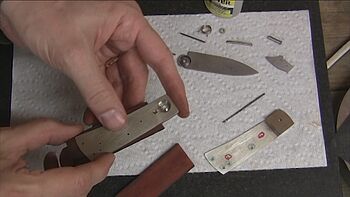
In early February of 2001, a friend of mine sent me to a web site that showed how to make a knife with hand tools. Using that tutorial, I completed my first knife in mid February. It was a very basic skinner with oak scales. It wasn't the greatest knife, but I was very proud of it at the time.
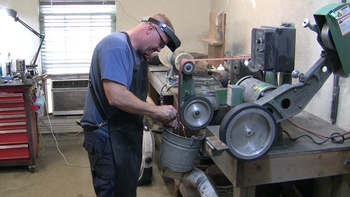
I knew after completing that knife that I wanted to make more. I was fortunate enough to meet several other knifemakers in the area who were willing to take me on and teach me the skill.
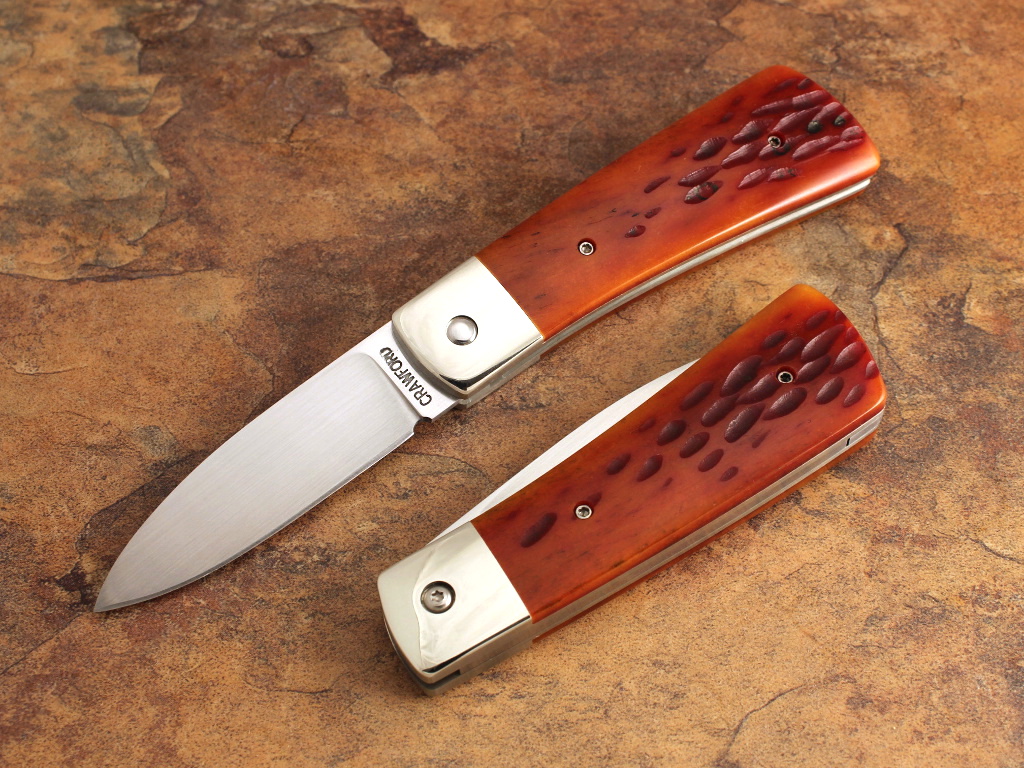
I now primarily make folding knives, and my specialty is building slipjoints. I've always liked the traditional patterns, and there's nothing like the walk-and-talk of a well tuned knife.


Featured Knives
EDC-B Slipjoint

EDC-B Slipjoint

EDC-1LA Lever Action Auto

A1 Scale Release Auto
Pantograph Templates
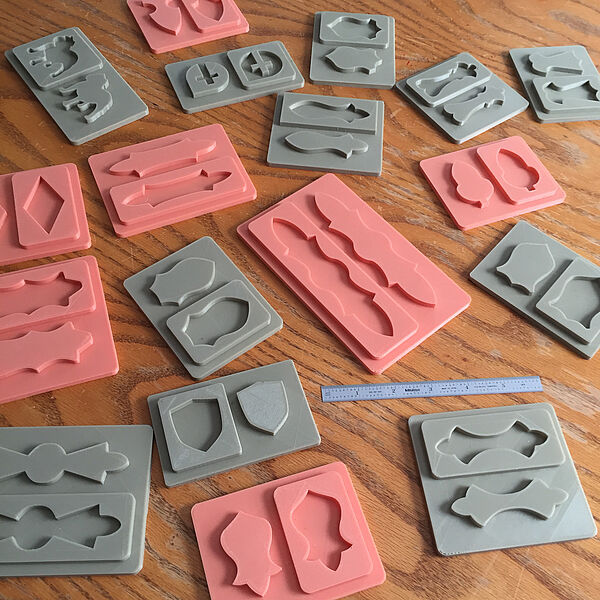
Got templates? If not, I can hook you up. I'm offering templates that can be used with pantograph mills for cutting out shields and pockets. These templates are made at a 4:1 ratio, and they can be resized to meet your particular needs. I can also build custom templates, if you want something that you don't see listed.
DVDs - Latest Titles
Can. Damascus - Schwarzer
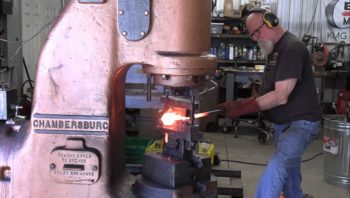
Blacksmithing For Beginners

Bladesmithing - Blacksmith
Slipjoints - Craig Brewer
Multi-Blades - Craig Brewer
Multi-Blades - Bill Ruple
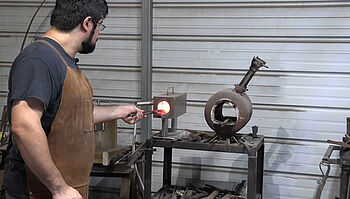
Primitive Bladesmithing
Hammer Making
DVDs - Recent Best Sellers
Basic Hunters
Advanced Hunters
Slipjoints - Luke Swenson
Tips and Tricks

Bowie Knives
Slipjoints - Craig Brewer
Can. Damascus - J. Neilson
Scale Release Autos
In the News...
In Focus: The Cutting Edge
Adam Robison - Tupelo Daily Journal - 1/16/2017
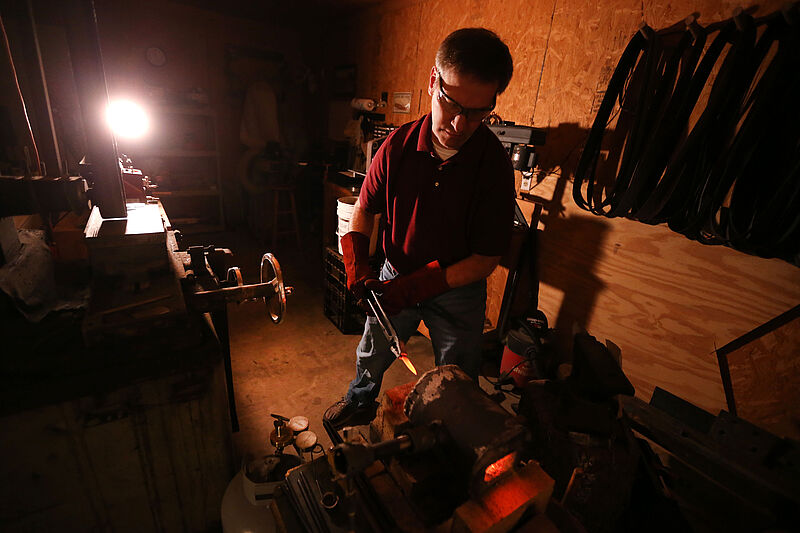
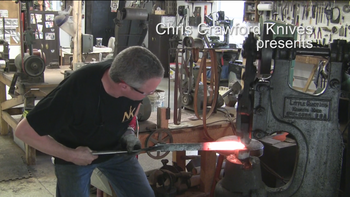
Chris Crawford of Saltillo made his first knife in 2001, having learned the skill from the late Ted McMinn of Mooreville.
As the years passed, he has sharpened his skills and gained experience. He starts with bare materials and finishes with a handcrafted knife.
BLADE: spec sheet
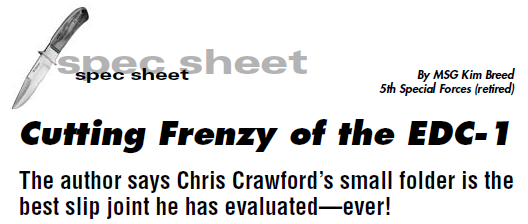

Everyone likes a nice little folder. I’m not talking about one with a pocketclip, just a good, little slip joint, something that can be used for everyday chores like opening boxes, cleaning fingernails, or picking out splinters. I was raised on slip joints, barlows, Kissing Cranes, Schrade Old Timers and a host of others. What is cool is that you can still find the old ones at knife shows. I have both of my father’s Old Timers that are worn almost to nothing on the blades.
With nostalgia about slip joints still running strong, Chris Crawford offers the EDC-1. It looks great but does it perform? Let’s see.
Copyright © 2024 Chris Crawford Knives
109 Bridle Cove, Saltillo, MS 38866